Warning: JavaScript is not enabled or not loaded. Please enable JavaScript for the best experience.
Roto Printing Roto Printing logo

Roto Printing Guide

Understand rotogravure printing from cylinders to quality control

Build a clear foundation in roto printing technology, machine setup, and production flow. Learn how gravure cylinders, ink delivery, and drying systems work together, and get practical tips that help technicians and packaging teams improve consistency, efficiency, and print quality.

Beginner-friendly explanations
Packaging-focused insights
Rotogravure printing press line with cylinders and web path

About rotogravure printing

A clear overview of rotogravure printing

Rotogravure printing is a high-speed engraved-cylinder process built for consistent, long-run production. It is widely used in packaging and labels because it delivers stable color, fine detail, and smooth gradients at scale.

How it works

The image is engraved as tiny cells on a metal cylinder. The cylinder rotates through ink, a doctor blade removes excess ink, and the remaining ink in the cells transfers to the substrate under pressure from an impression roller.

Where it is used

Best suited for films, foils, and paper in packaging applications such as snack wrappers, pet food bags, beverage labels, and household product pouches. It is chosen when repeatability and fine typography are required.

Why it matters in packaging

  • Stable color across long runs. Engraved cell volume supports consistent ink laydown and repeatable results.

  • Efficient at high volumes. Cylinder preparation enables fast production with low per-unit cost on long runs.

  • Fine detail and gradients. Engraving supports delicate lines and smooth tonal transitions for premium graphics.

Cross-sectional diagram of a rotogravure printing unit showing engraved cylinder, doctor blade, ink pan, impression roller, and substrate path
Core components: engraved cylinder, ink pan, doctor blade, impression roller, and substrate web.

When to choose rotogravure

Best for long, repeating jobs where color stability and fine detail are critical. Short runs may favor other processes due to cylinder preparation costs.

Explore common questions

Industry perspective

Chinese rotogravure press brands and global market positioning

Neutral context for buyers evaluating regional positioning. It summarizes common discussion points and avoids claims about any specific manufacturer.

Configuration range and color capacity

Some Chinese manufacturers list press lines up to 16 colors for complex packaging graphics. Capacity is typically paired with drying, tension, and automation packages to match substrate and production targets.

Up to 16 colors Packaging focus

Cost, automation, and build philosophy

Chinese presses are often positioned around competitive capital cost and modular feature sets, while European machines are frequently positioned around higher automation and standardized process control. Offerings vary by model and supplier.

  • Buyers compare cost, automation level, and planned utilization.
  • Build approaches range from modular expansion to full-platform standardization.

Service and support expectations

Support models differ by region. Buyers evaluate service reach, spare parts access, training, and responsiveness of technical teams.

Upgrade paths and retrofits

Some suppliers emphasize modular upgrades like automation or register control; others promote platform modernization packages. Compatibility and lead times are key checks.

Buyer priorities in practice

Priorities typically include print quality, uptime, workflow integration, and long-term reliability balanced against budget and staffing.

How to use this analysis

Use these points as a comparison framework. Request references, sample runs, and maintenance plans to validate fit for your production mix.

Machine specification guide

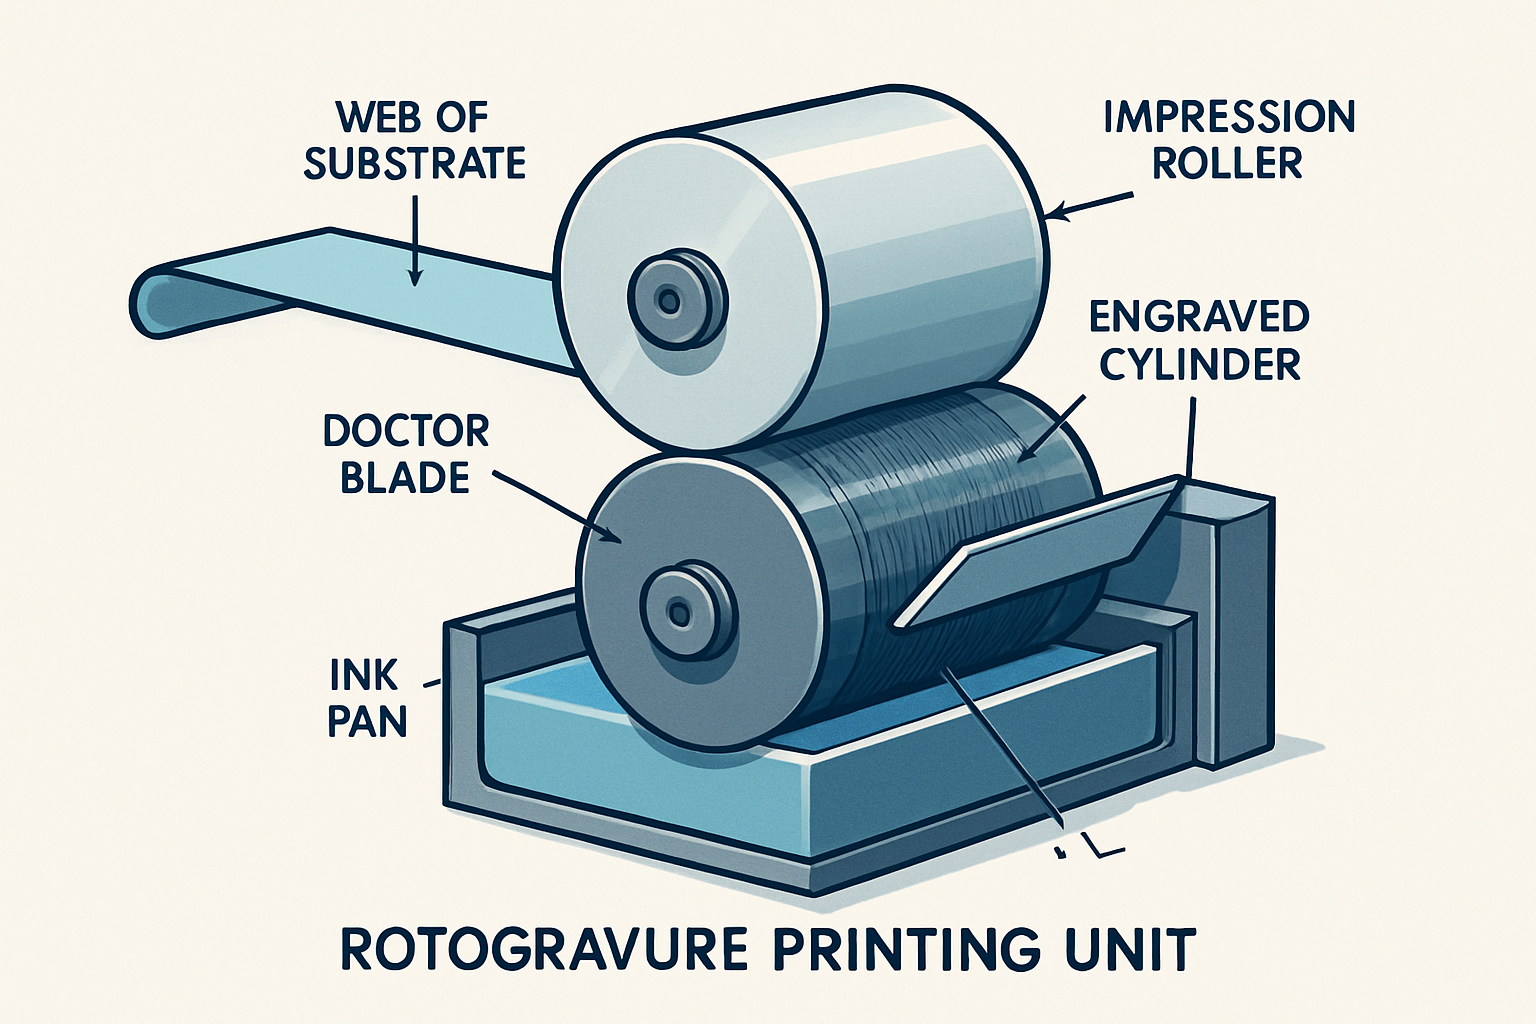
Rotogravure press specifications explained

A quick reference to common specification categories found in press data sheets to help interpret configuration options without focusing on pricing.

Number of colors

Up to 16 colors

Color stations define the maximum inks per pass. More stations enable complex graphics and special finishes, while increasing setup and maintenance requirements.
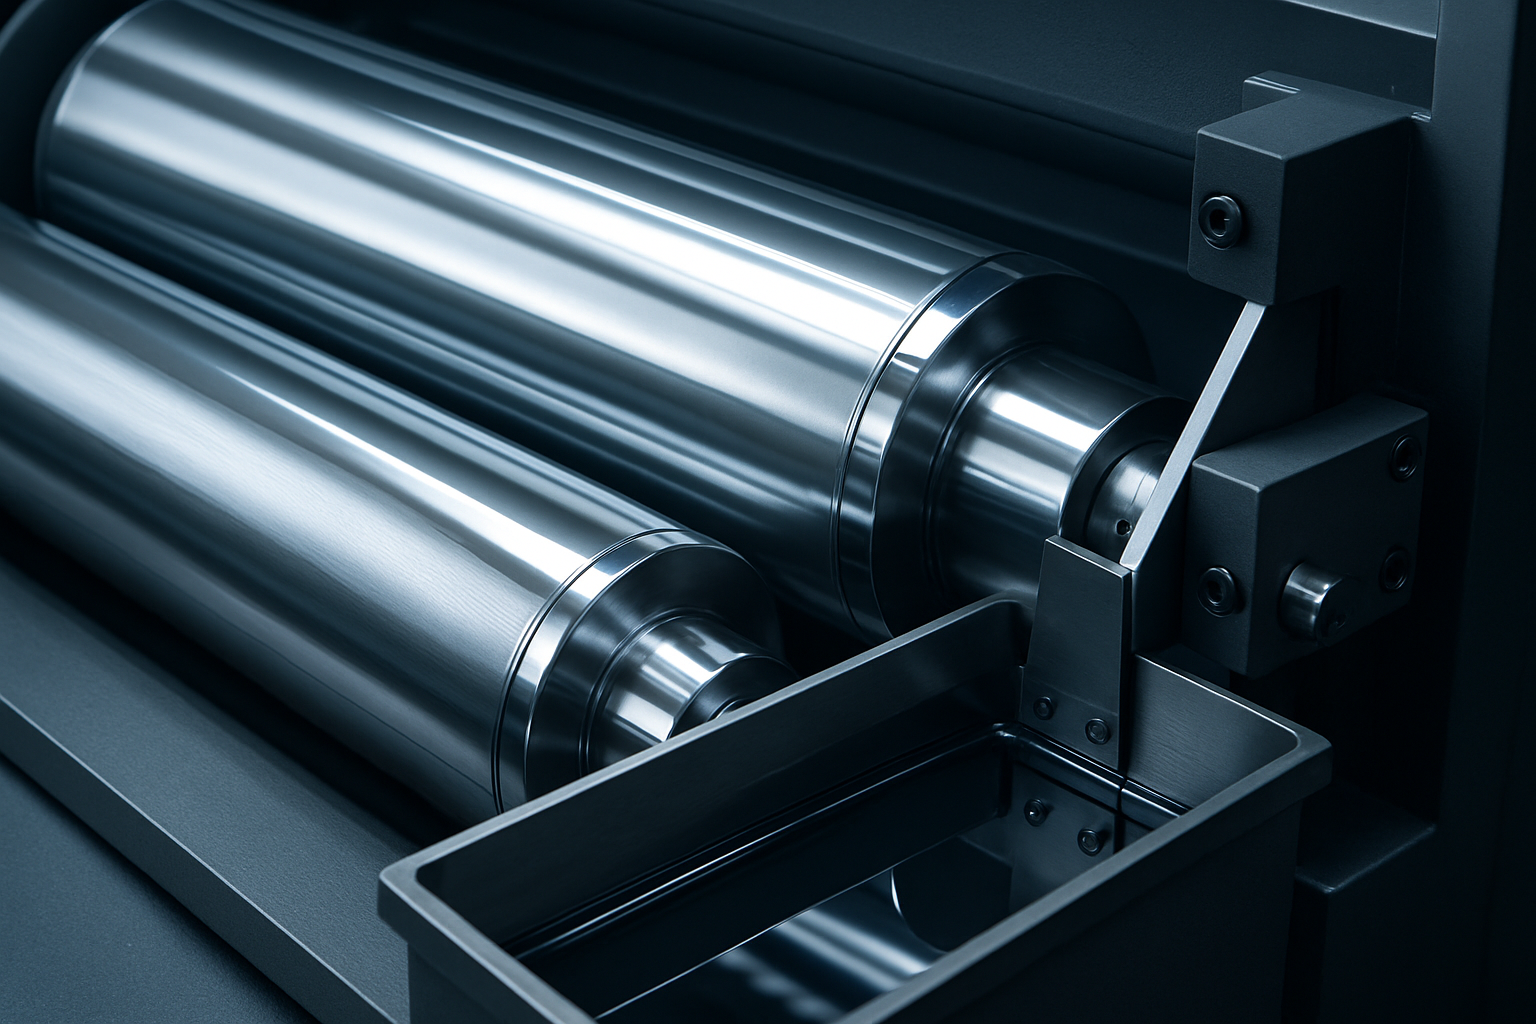
Printing width

Web width range

Printing width (web width) defines the usable substrate width. Buyers compare this with their widest formats and needed trim margins.

Repeat length

Cylinder repeat

Repeat length is the image circumference on the cylinder. A wider repeat range supports more packaging sizes and helps standardize cylinder inventories.

Mechanical speed

Max line speed

Mechanical speed is the rated maximum running speed. Actual production speed depends on ink system, drying capacity, substrate type, and job complexity.
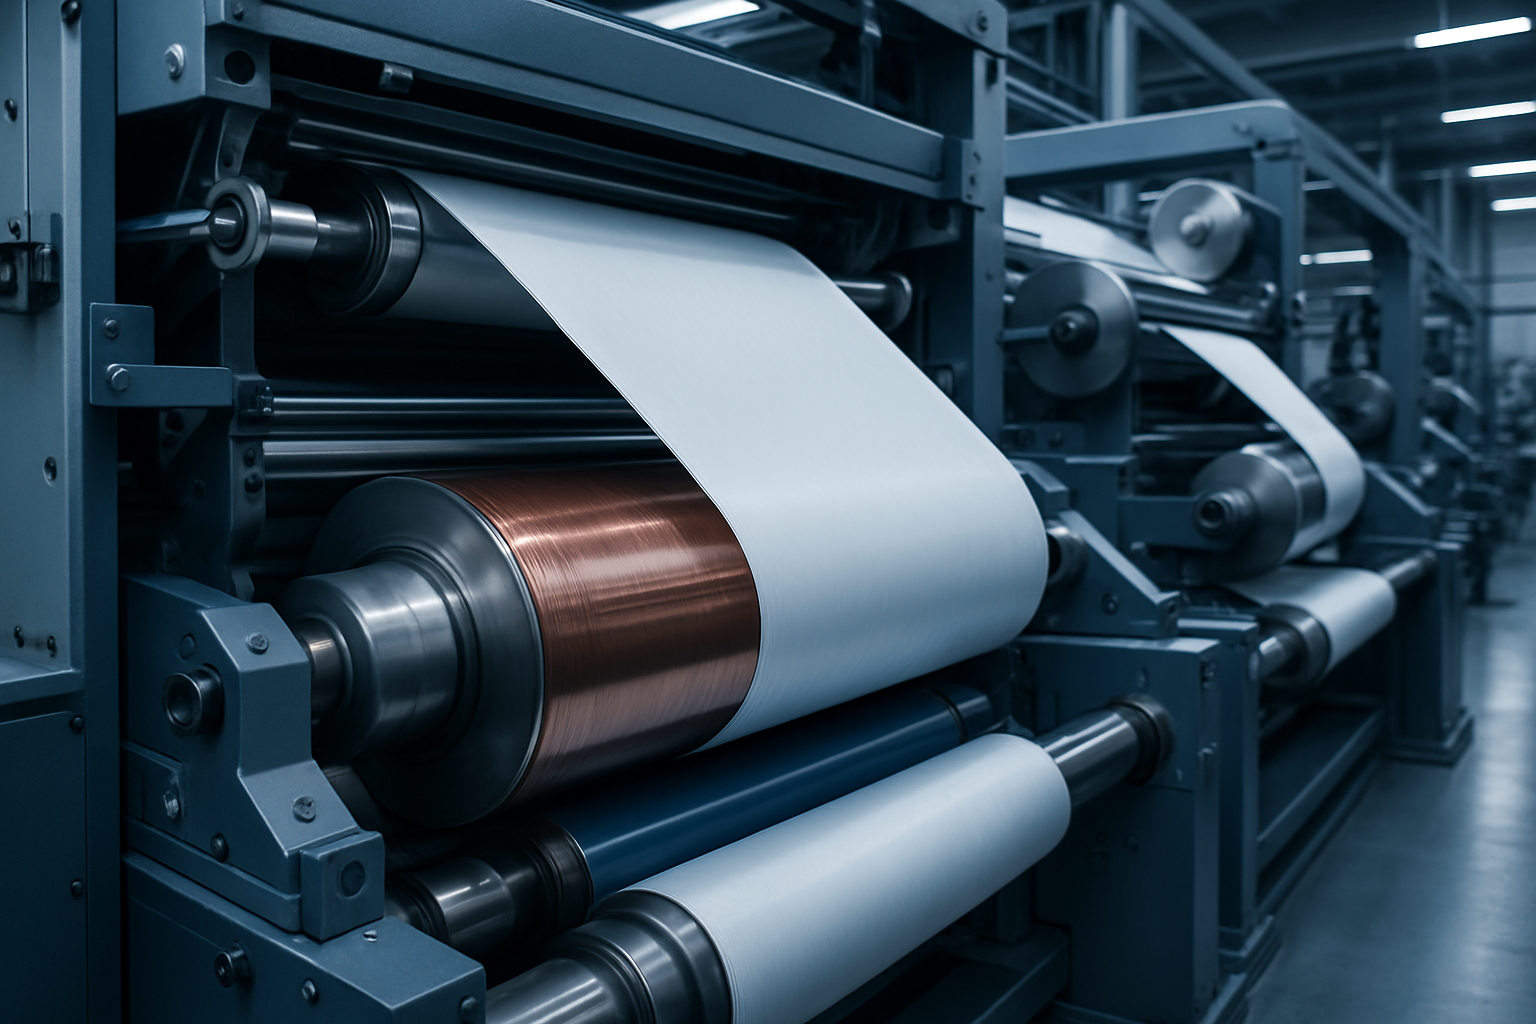
Drying system

Solvent or water-based

Dryer capacity affects ink laydown and speed. Specs list dryer length, airflow, heating method, and exhaust design to match ink chemistry and substrate limits.

Web tension control

Stable web handling

Tension control keeps the web stable, protecting registration and minimizing stretch. Look for load cells, automatic tension zones, and feedback-driven unwind/rewind control.

Shaftless vs. shafted design

Changeover style

Shaftless systems use individual servo motors per station for faster setup and precision. Shafted designs rely on mechanical line shafts and can be simpler to maintain.

Register control

Color-to-color accuracy

Register systems keep each color aligned. Specs highlight manual, semi-automatic, or fully automatic register control and how corrections are measured during runtime.

Automation level

Setup assistance

Automation may include recipe loading, ink viscosity control, and automatic impression settings. Higher automation reduces setup time but requires trained operators.

Inspection systems

Defect detection

Integrated inspection cameras check print defects, color shifts, and web issues. Specs list camera resolution, detection thresholds, and reporting options.

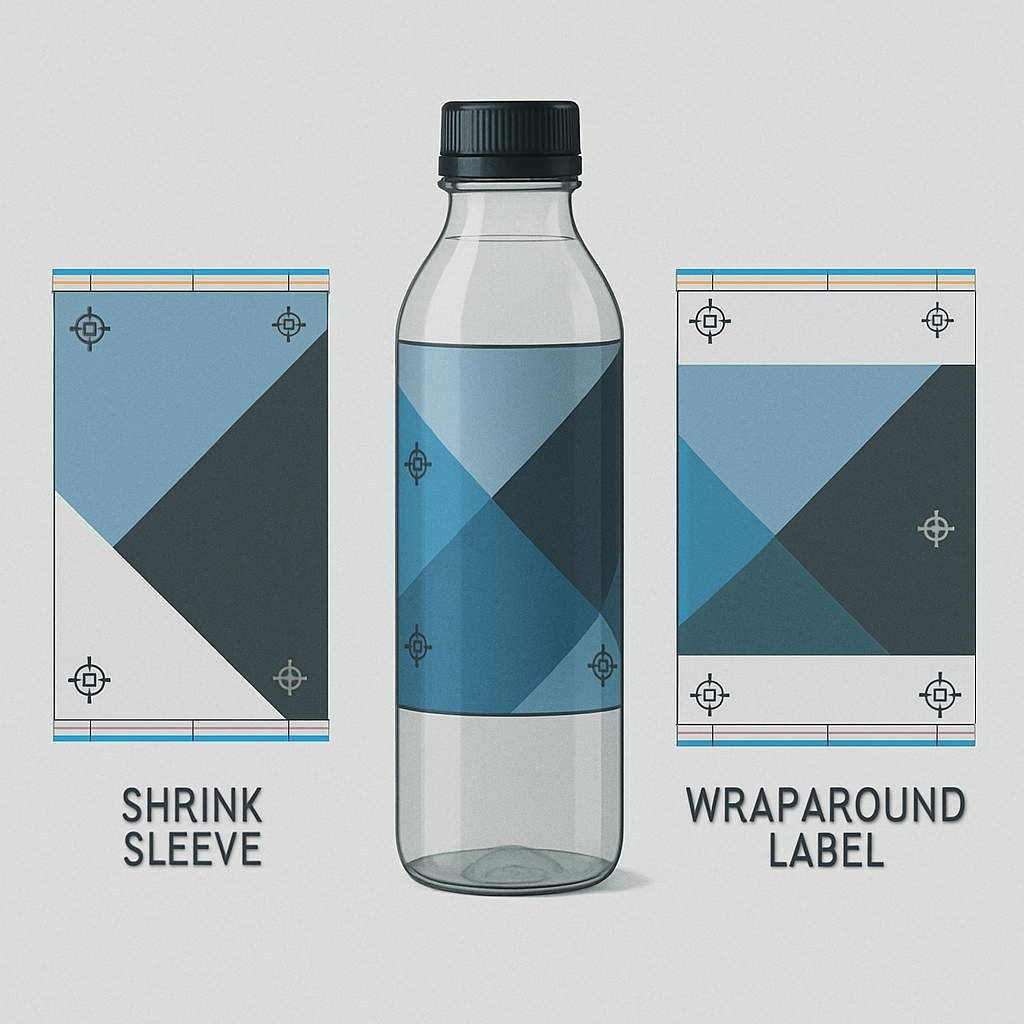
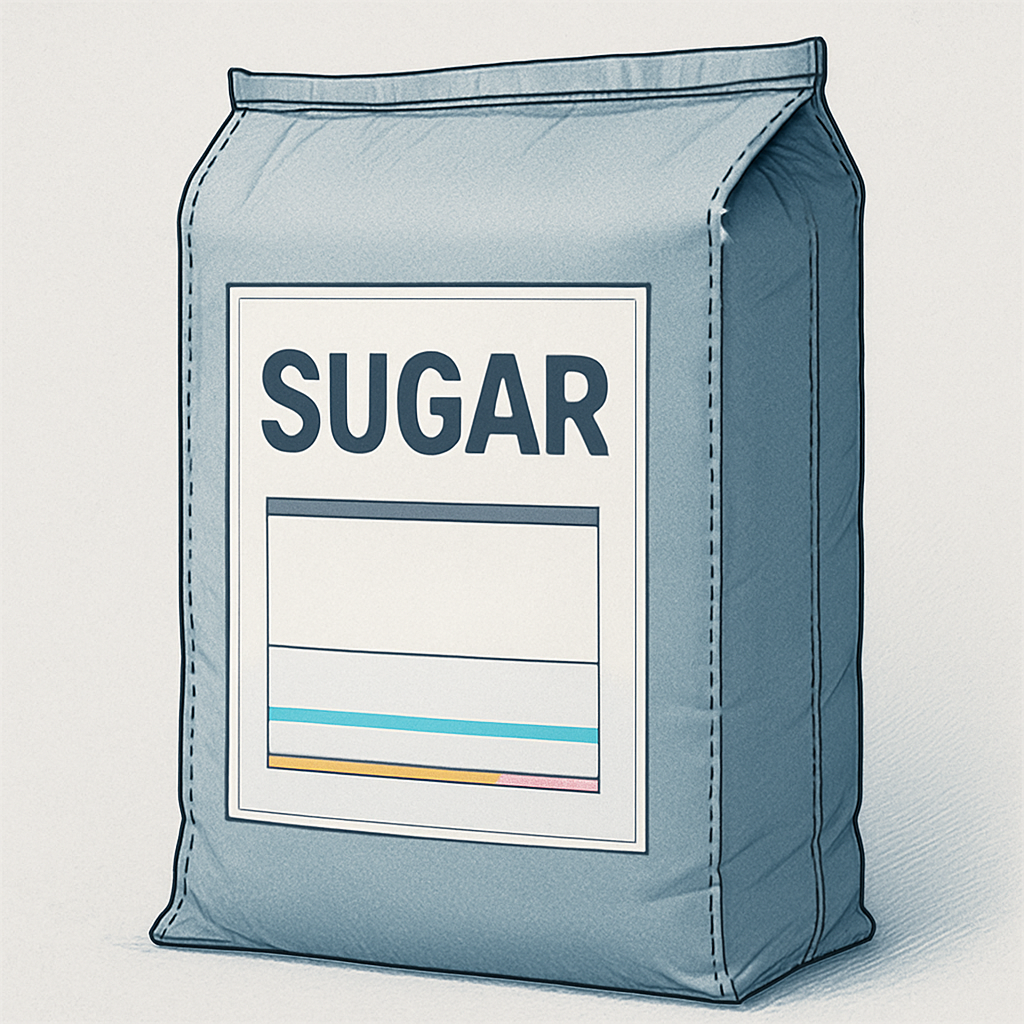
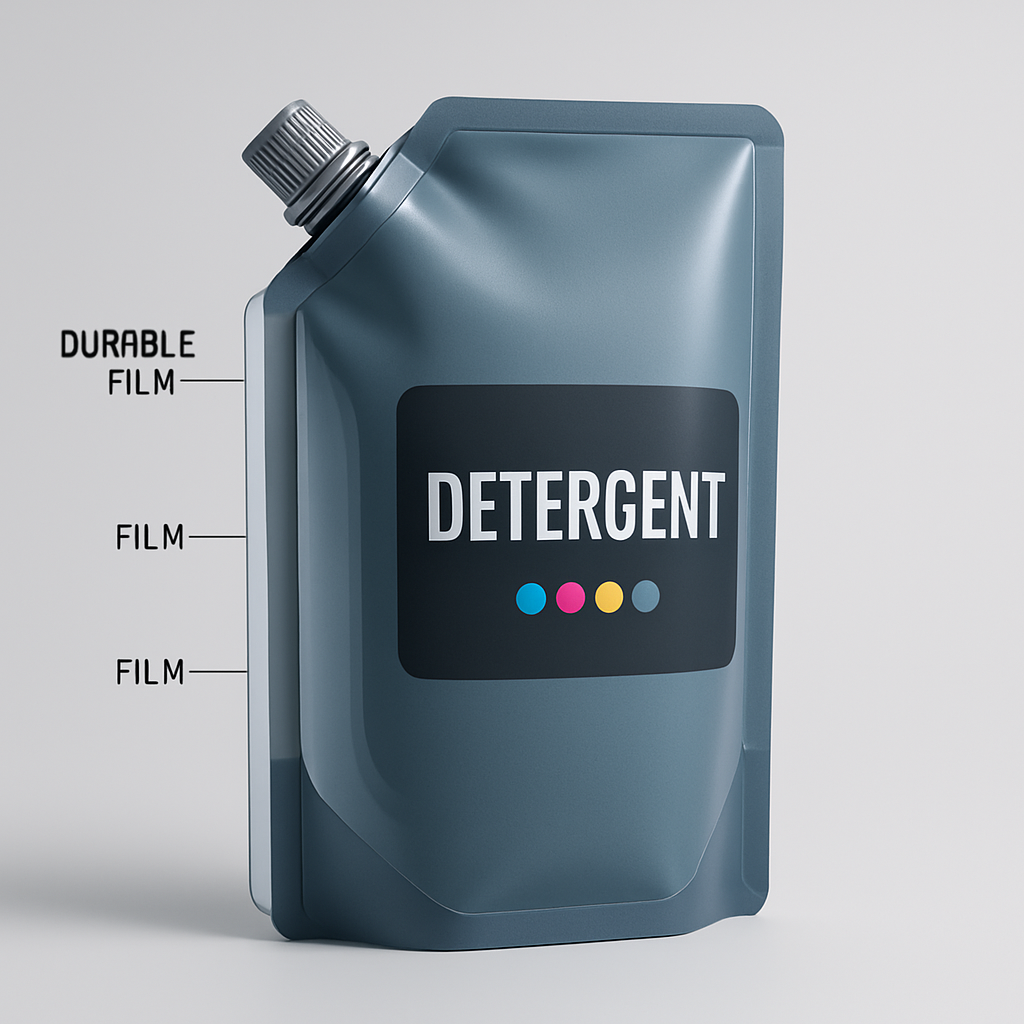
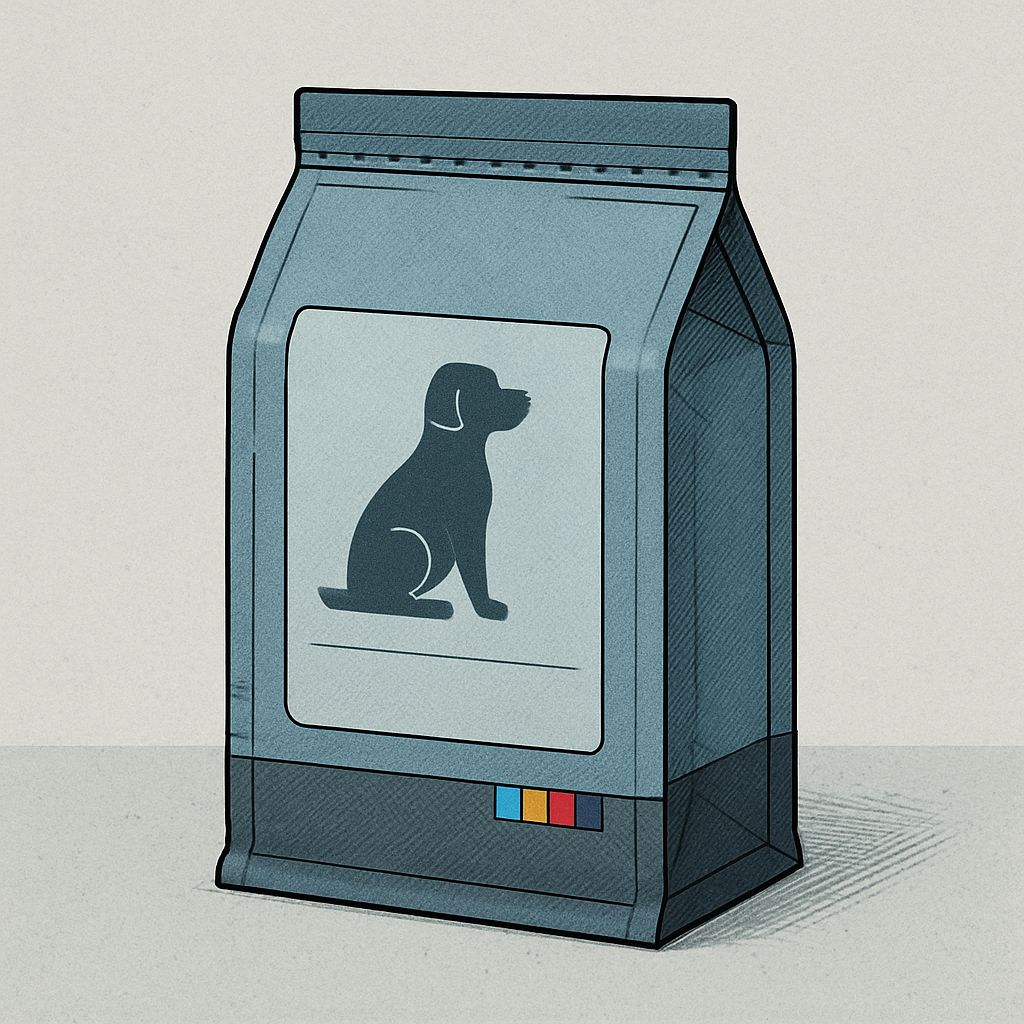
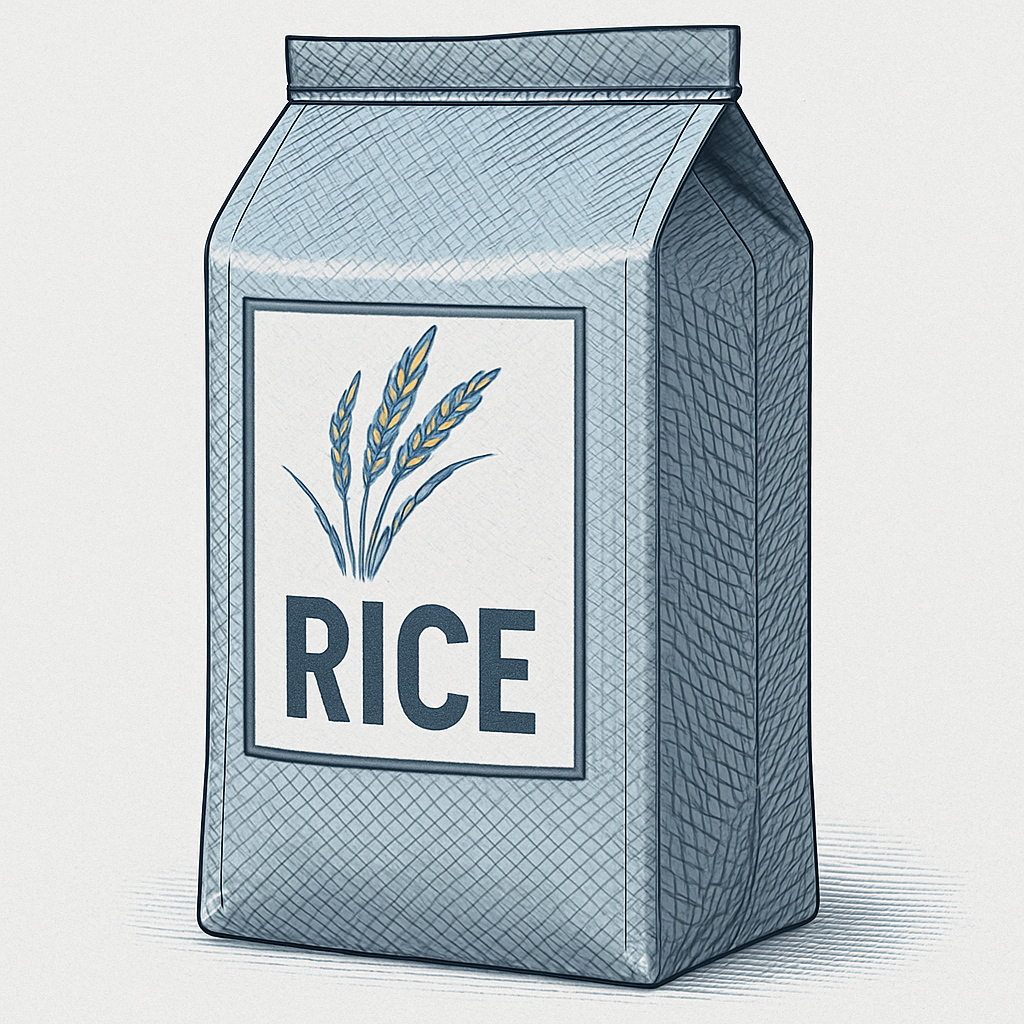
Compatible substrates

Films, foil, paper

Compatibility notes outline supported films, foils, and papers with thickness ranges. Matching substrate ranges with drying and tension capacity ensures stability.

Reading a specification sheet quickly

Start with width, repeat range, and color count. Then review drying, tension, and register control to assess stability. Finally, confirm automation and inspection against staffing and production goals.

Roto vs Flexo

Compare rotogravure and flexographic printing

A side‑by‑side view of the critical differences that impact quality, cost, and production planning in packaging workflows.

Process

Rotogravure (Roto)

Engraved cylinders transfer ink from recessed cells for precise, consistent reproduction.

Process

Flexographic (Flexo)

Flexible relief plates transfer ink from raised surfaces for versatile, adaptable runs.

At-a-glance impact

  • Roto excels in long‑run consistency and premium finish.
  • Flexo offers faster changeovers and lower setup cost.
  • Choose based on run length, substrate, and quality target.

Comparison factor

Rotogravure

Flexographic

Print quality

Detail, gradients, and solid coverage

Very high resolution with excellent tone control and consistent solids.

Good quality, improving with modern plates, but less smooth gradients.

Setup cost

Initial tooling and prep

Higher due to engraved cylinder production and longer lead times.

Lower because photopolymer plates are quicker and cheaper to make.

Speed

Press output and stability

Very high speeds with stable quality on long, continuous runs.

Fast setup and changeover, strong performance on mixed SKU runs.

Cylinder / plate

Imaging technology

Engraved metal cylinders; long life and repeatability.

Flexible polymer plates; quick to make and easy to mount.

Best use cases

Applications and substrates

High‑volume packaging, premium graphics, films, and foil laminates.

Corrugated, labels, flexible packaging with frequent design changes.

Long‑run efficiency

Cost per unit at scale

Best for very long runs; tooling cost is amortized quickly.

Efficient for short to mid‑length runs; flexible for multiple SKUs.

Packaging applications

Products commonly printed with rotogravure

Rotogravure is selected for packaging formats that demand stable color, smooth solids, and cost-efficient long runs. The categories below highlight where it delivers reliable production performance on flexible substrates.

Chips packaging pouch

Chips packaging

Large-volume snack bags benefit from rotogravure’s consistent ink laydown and strong color repeatability across long runs, keeping branding stable from batch to batch.

Food packaging

Film and laminate structures used for food require precise registration and clean solids. Rotogravure handles complex color builds and high coverage without banding.

Beverage shrink sleeve and wraparound label

Beverage labels and wraps

High-contrast graphics and metallic effects on shrink sleeves or wraparound labels are well supported by rotogravure cylinder engraving and ink control.

Printed sugar bag packaging

Sugar bags

Paper and poly bags for bulk sugar rely on durable ink transfer and consistent coverage. Rotogravure performs well on absorbent substrates at high speed.

Detergent pouch packaging

Detergent packaging

Heavy-duty detergent packs need scuff resistance and sealed barrier films. Rotogravure’s robust ink coverage protects branding across long distribution cycles.

Pet food bag packaging

Pet food bags

Pet food packaging uses thick laminations and gusseted structures. Rotogravure maintains crisp graphics on barrier films and supports long-run efficiency.

Printed rice bag packaging

Rice bags

Woven and laminated rice bags require tough ink adhesion and repeatability. Rotogravure offers strong coverage on abrasive substrates.

Frozen food film packaging

Frozen food packaging

Freezer-ready films demand stable ink performance and barrier compatibility. Rotogravure delivers clean solids that stay consistent in cold-chain handling.

Confectionery wrapper packaging

Confectionery wrappers

Candy and chocolate wraps use high-gloss finishes and fine text. Rotogravure supports sharp detail, metallic effects, and long-run consistency.

Dairy sachet packaging

Dairy packaging

Yogurt and dairy sachets rely on clean solids and consistent registration. Rotogravure prints accurately on multilayer barrier films.

Household product refill pouch

Household product pouches

Refill and spouted pouches need durable inks and tight registration on complex films. Rotogravure ensures repeatable color across large volumes.

General flexible packaging

From sachets to stand-up pouches, rotogravure provides repeatable color, smooth gradients, and stable registration on PE, PP, PET, and multilayer films.

Practical machine guidance

Roto printing tips for stable quality and uptime

Use this ordered checklist as a daily reference. It prioritizes operating discipline, quality control, and decision-ready guidance for equipment selection and spec comparison.

Daily operating tips

  • Measure viscosity at a consistent temperature and log targets per ink series.
  • Stabilize solvent additions before matching color; avoid constant density chasing.
  • Inspect cylinder engravings after washup; polish only when cell plugging is confirmed.
  • Set blade angle and pressure to clear excess ink without streaking.

Quality control checks

  • Balance airflow and temperature per substrate to prevent curl and register drift.
  • Verify web tension at startup and after splices; small shifts compound on long runs.
  • Follow a daily clean-and-inspect routine for pumps, filters, and impression rollers.

Buyer guidance

Up to 16 colors

Neutral comparison

Evaluating rotogravure presses: China vs Europe

Compare measurable performance, automation depth, and service support. A lower entry cost can be offset by stability, changeover time, or long-term maintenance demands.

Register control & tension stability

Check correction range, response time, and tension feedback during speed changes and splices.

Drying performance

Validate dryer zoning, airflow balance, and temperature uniformity across substrates.

Automation & job changeover

Review preset recall, ink management, cylinder positioning, and recipe workflows.

Parts access & service

Confirm spare parts lead time, local service availability, and training plans.

Operator readiness checklist

  • Verify training coverage for setup, cleaning, and troubleshooting at full 16-color configuration.
  • Request documentation on recommended consumables, tolerances, and calibration intervals.
  • Ask for production references with similar substrates and print widths.

Common quality issues to watch

Mottling / uneven tone

Check viscosity stability, cell cleanliness, and drying balance.

Doctor blade lines

Verify blade angle, holder alignment, and cylinder surface condition.

Registration drift

Review web tension, nip settings, and drying temperature changes.

Pinholing / voids

Inspect substrate surface, filtration, and solvent compatibility.

Spec checklist

Neutral guidance

Technical focus

Specification comparison notes

Use one review sheet across suppliers to match capability to substrates, run length, and operator workflow. Avoid comparing marketing maximums without verified test data.

Color stations & deck layout

Confirm standard and maximum decks, spacing between units, and access for cylinder changes.

Max web width & repeat range

Compare usable print width, min/max repeat, and sleeve options for current SKUs.

Drying capacity & zoning

Evaluate dryer length, heat source, airflow control, and independent zone tuning.

Unwind/rewind systems

Check roll diameter limits, splice method, and tension control architecture.

EPC & web guiding

Review response speed, sensor types, and correction range for thin films.

Viscosity control support

Confirm supported systems, temperature control, and data logging for stability.

Defect inspection

Compare camera resolution, illumination options, and rewind marking integration.

Energy use & maintenance access

Review energy consumption per deck, heat recovery, and access to pumps and dryers.

Comparison notes template

  • Record verified operating ranges, not marketing maximums.
  • Request run data on similar substrates, speeds, and ink systems.
  • Note service access points and daily maintenance time per shift.
Close-up of a rotogravure printing press showing engraved cylinders, ink pan, and doctor blade assembly
Machine detail focus: engraved cylinder, ink pan level, doctor blade contact, and drying path.

Shift-ready checklist

  • Confirm cylinder ID, engraving spec, and job order match.
  • Record viscosity, pH (if applicable), and solvent ratio.
  • Verify blade wear, holder alignment, and ink pan cleanliness.
  • Run a 50-meter trial and approve density, tone, and register.

Maintenance guide

Rotogravure machine maintenance essentials

A structured routine protects cylinder life, print quality, and uptime. Use the cadence below to standardize checks, document outcomes, and reduce avoidable defects.

Maintenance cadence

Align checks with shift changes and planned stoppages. Log every inspection to build a reliable service history.

Daily Weekly Monthly

Daily care

  • Cylinder wipe-down and blade edge condition.
  • Ink viscosity, filter pressure, and pan cleanliness.
  • Tension readings at unwind and rewind.
  • Quick check of dryer airflow indicators.

Weekly checks

  • Doctor blade holder alignment and clamp torque.
  • Dryer duct cleanliness and temperature balance.
  • Guide rollers and bearings for heat or noise.
  • Ink return lines and filters for buildup.

Monthly checks

  • Lubrication verification for bearings, gearboxes, chains.
  • Calibration of sensors and tension load cells.
  • Wear log review for cylinders, blade holders, rolls.
  • Spare parts audit for blades, filters, seals.

Cylinder cleaning and handling

Use approved solvents and lint-free wipes. Clean along the engraving direction and dry fully before storage. Log scratches, pits, or cell blockages for re-engraving decisions.

  • Avoid metal tools; use polymer scrapers for dried ink.
  • Inspect journals and bearings for residue before reinstalling.

Doctor blade inspection

Check blade edge uniformity, holder alignment, and pressure. Uneven wear causes streaks and accelerates cylinder damage. Replace blades with nicks or curling.

Quick checks

Verify blade angle, clamp torque, and consistent contact line. Re-set after web breaks or cylinder changes.

Ink system cleaning

Flush lines, filters, and pumps at changeovers. Monitor viscosity and filtration to prevent pigment settling. Maintain separate procedures for water-based and solvent-based inks.

  • Clean doctor pans and return lines to reduce contamination.
  • Replace filters based on pressure drop readings.

Dryer and hot air maintenance

Verify airflow, burner efficiency, and duct cleanliness. Stable drying reduces solvent retention and helps prevent blocking or set-off.

  • Clean filters and exhaust ducts on schedule.
  • Calibrate temperature sensors and verify zone balance.

Tension system checks

Inspect load cells, dancer rolls, and brake pads. Record actual tension readings against setpoints to reduce register drift and web breaks.

Operator tip

After splices or new rolls, verify tension stabilization before full speed.

Lubrication routines

Follow OEM intervals for bearings, gearboxes, and chains. Over-lubrication attracts dust and ink, while under-lubrication accelerates wear.

  • Use the correct grease type for high-speed bearings.
  • Wipe excess to prevent ink mist buildup.

Common wear points

Track blade holders, impression roll coverings, bearings, and guide rollers. A concise wear log helps plan downtime and spares.

High contact areas

Doctor blade holder slots, bearings, and nip rolls.

Heat-affected areas

Dryer seals, duct joints, and hot-air fans.

Operator takeaways

Control contamination

Label solvent, ink, and water systems clearly. Cross-contamination is a leading cause of defects and downtime.

Standardize changeovers

Follow a written sequence for cleaning, blade replacement, and tension reset to improve repeatability.

Document wear trends

Track cylinder condition, blade hours, and bearing temperature to plan re-engraving and spares.

Protect the web path

Remove ink mist and dust from idlers, nip rolls, and guides to maintain register stability.

Machine operation guide

A practical, step-by-step flow for stable rotogravure production

Follow this sequence each shift to stabilize startup, lock register, and prevent defects. The guidance is designed for fast, repeatable setups with consistent print density across long runs.

Daily operator flow

  1. Verify safety, blades, cylinders, and air/lube before thread-up.
  2. Align setup, preload job parameters, and confirm substrate match.
  3. Stabilize register and tension, then balance drying and viscosity.
  4. Monitor defects and document adjustments for repeatability.
Startup checks
Confirm guards, emergency stops, air supply, and lubrication. Inspect doctor blades, cylinders, and impression rollers. Jog at low speed to verify tracking.
Job setup
Match cylinder engraving and ink system to substrate. Align unwind/rewind cores, verify web width, and load register values from the job sheet.
Register control
Stabilize temperature and tension before fine register. Use incremental adjustments, lock settings, and confirm with a strobe or camera at production speed.
Web tension handling
Keep tension zones stable from unwind to rewind. Adjust dancer systems gradually and avoid rapid speed changes that stretch film or shift register.
Drying balance
Balance airflow and temperature per color station. Prevent over-drying (curl, blocking) and under-drying (set-off, contamination).
Viscosity monitoring
Check viscosity and ink temperature every 20–30 minutes. Use auto-dosing when available and recalibrate cups to maintain density.
Defect prevention
Watch for pinholes, mottling, streaks, and chatter. Clean doctor blades, verify impression pressure, and keep cylinders free of dried ink.
Operator best practices
Log settings, ink adjustments, and register changes. Share updates with prepress and maintenance, and verify samples on a fixed interval.

Troubleshooting guide

Diagnose rotogravure defects with a clear, ordered flow

A structured workflow for operators and technicians. Use the steps below, then pinpoint the defect group for a focused, fast correction.

Diagnostic flow (start here)

  1. 1 Identify defect location: image, solid, edge, repeat, or full web.
  2. 2 Stabilize process variables: viscosity, tension, temperature, speed.
  3. 3 Inspect hardware: blade, cylinder condition, bearings, dryers.
  4. 4 Verify material inputs: substrate surface energy and storage.
Ink & density

Tone stability and ink quality

CV Color variation
Uneven tone or density shifts across the web.

Action: Stabilize viscosity, confirm circulation filters, and even blade pressure.

MT Mottling / uneven solids
Blotchy solids from drying or surface energy drift.

Action: Recheck viscosity curve, balance dryers, confirm treatment level.

IC Ink contamination
Specks, gels, or hue shifts from dirty tanks or return lines.

Action: Flush lines, replace filters, and isolate return flow by color.

Register & tension

Alignment and web control

RD Registration drift
Misalignment that worsens with run length or heat.

Action: Recalibrate tension zones, chill roll temp, and clean sensors.

WT Web tension instability
Fluctuations that cause waviness, curl, or register error.

Action: Calibrate sensors, inspect rollers, verify brake response.

Hardware & drying

Blade, cylinder, and dryer performance

BL Doctor blade lines
Fine streaks from wear, debris, or alignment issues.

Action: Replace or rotate blade, clean holder, set angle evenly.

DR Drying issues
Smear, blocking, or set-off from poor solvent removal.

Action: Balance airflow and temperature, confirm exhaust, reduce speed.

CW Cylinder wear
Detail loss or repeating defects from worn engraving.

Action: Inspect cell depth, verify polishing logs, retire worn cylinders.

Substrate

Material-driven defects

SD Substrate-related defects
Pinholes, poor adhesion, or edge fray from material variation.

Action: Verify dyne level, check storage conditions, match ink to film.

Restart checklist (confirm before running)

  • Viscosity and temperature logs within spec.
  • Blade condition verified and holder cleaned.
  • Register sensors aligned and lens cleaned.
  • Dryer airflow balanced and exhaust confirmed.

External resources

Curated rotogravure references and manufacturer insights

The links below take you to third-party educational and manufacturer resources. We do not control these sites, but they can help deepen your understanding of rotogravure technology and related processes.

Educational resource directory

Sorted for quick scanning. Each entry links to an external source.

External
  1. 01

    Manufacturer overview

    Roto vs Flexo machine overview

    Manufacturer guidance on rotogravure and flexographic equipment.

  2. 02

    Reference article

    Rotogravure fundamentals

    Reference article with history, process detail, and terminology.

  3. 03

    Supplier knowledge hub

    Roto House knowledge hub

    Industry supplier content and practical rotogravure references.

  4. 04

    Process comparison

    Difference between roto and flexo printing

    Educational overview explaining process differences and use cases.

  5. 05

    Process overview

    Rotogravure printing overview

    Educational page explaining process basics, applications, and benefits.

Note: These resources are maintained by third parties. Content, availability, and technical details may change over time. Always validate specifications and guidance against your internal production standards.

Contact

Contact Us

Reach out with questions about rotogravure printing, machine guidance, or packaging print applications. We're here to help with practical, technical answers.

Primary contact email

We respond with clear, actionable guidance for operators, technicians, and packaging teams.

[email protected]

Roto vs Flexo

Process selection and trade-offs.

Machine Guidance

Setup, troubleshooting, and upkeep.

Packaging Printing

Substrate, ink, and quality checks.

FAQ

Common questions about rotogravure printing

Concise answers for operators, packaging teams, and learners who need practical guidance.

Rotogravure uses engraved cylinders to transfer ink into tiny cells, producing very consistent and high-quality prints at high speeds.